
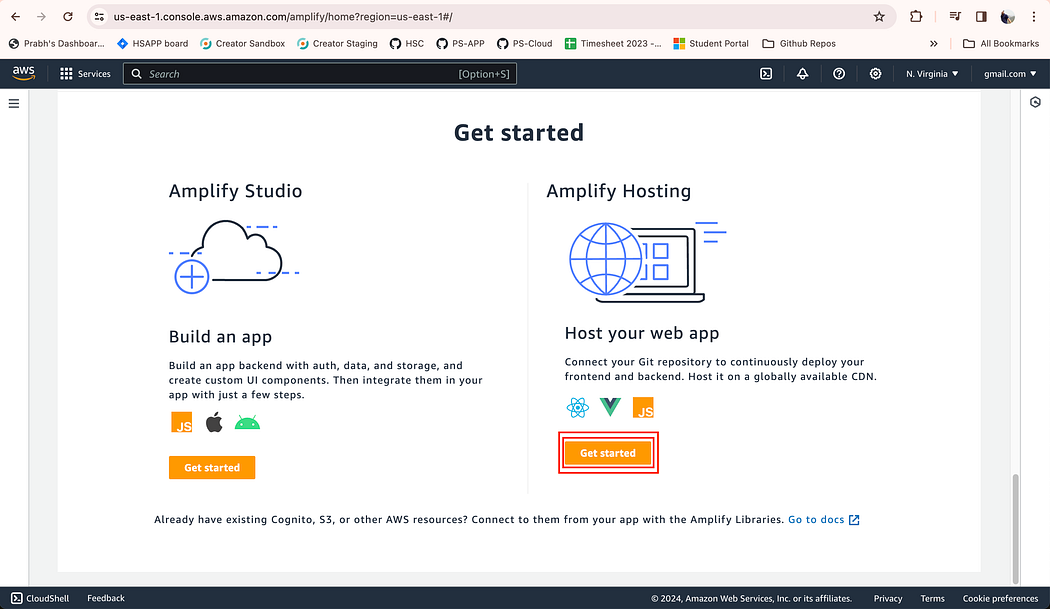
- Go to Amplify Console, scroll down and click on GET STARTED

2. Under Host your web app, click on GET STARTED
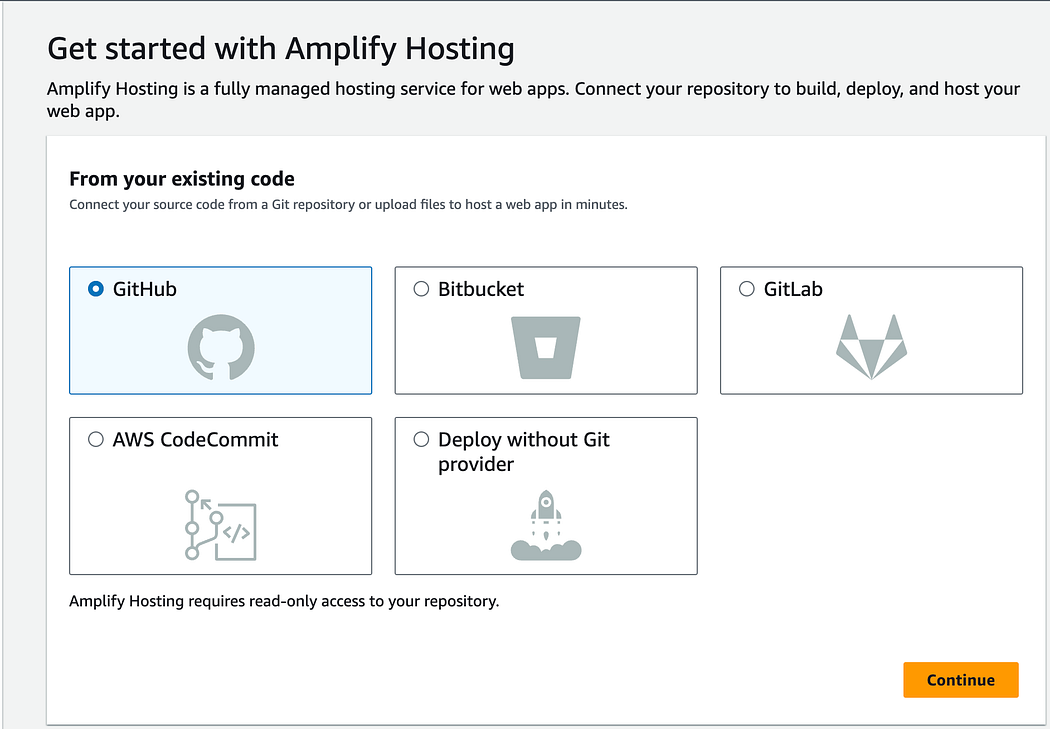
3. Choose Github as source and click Continue
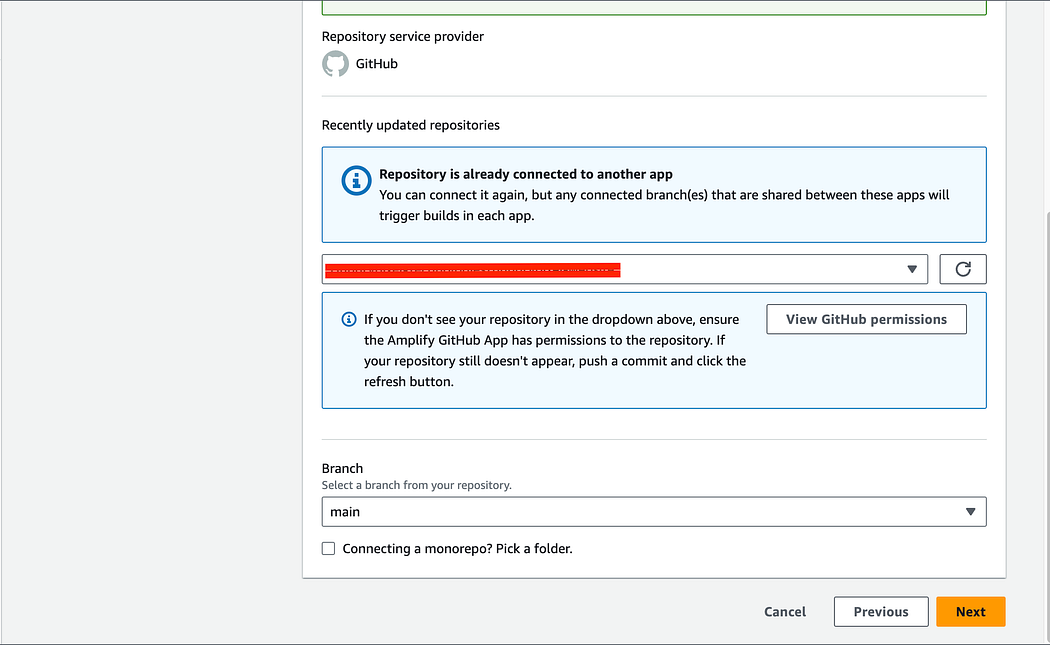
4. Select the repository containing Nuxt 3 app code and then choose the branch that needs to be deployed (in this case, main branch is selected) and click Next.
5. Under Build and test settings, add the frontend and backend deployment config
version: 1
backend:
  phases:
    preBuild:
      commands:
        - nvm use 18 && node --version
        - corepack enable && npx --yes nypm install
    build:
      commands:
        - echo "SOME_API_KEY=$SOME_API_KEY" >> .env
        - npm run build
frontend:
  phases:
    preBuild:
      commands:
        - nvm use 18 && node --version
        - corepack enable && npx --yes nypm install
    build:
      commands:
        - echo "SOME_RUNTIME_CONFIG_OPTION=$SOME_RUNTIME_CONFIG_OPTION" >> .env
        - npm run build
  artifacts:
    baseDirectory: .amplify-hosting
    files:
      - '**/*'
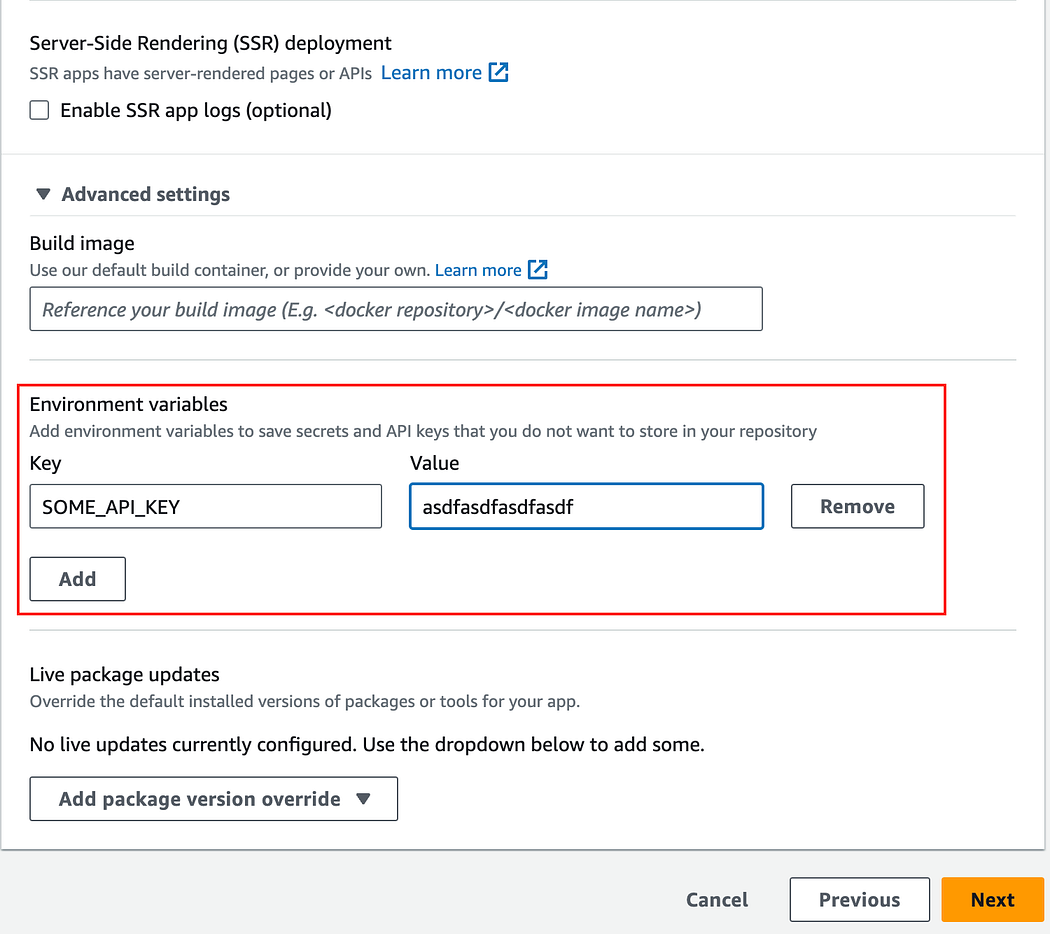
For adding environment variables like any API key, we need to add that to AWS Amplify’s environment variables and reference in the echo under build > commands.
6. For adding environment variables to AWS Amplify, click on Advanced Settings
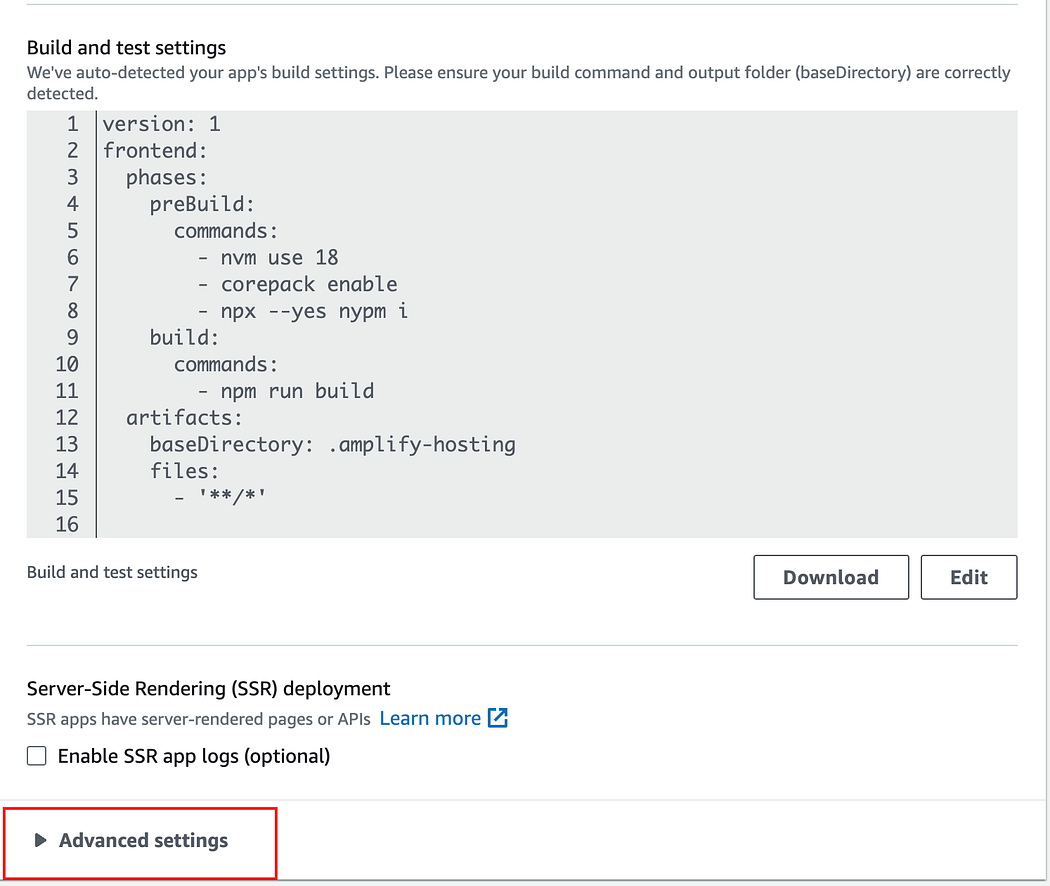
(Note: Ignore the build and test settings in the above screenshot, refer to Point 5 for required YAML)
7. Under Advanced Settings, add your environment variables one by one and then click Next
8. Finally, click on Save and Deploy
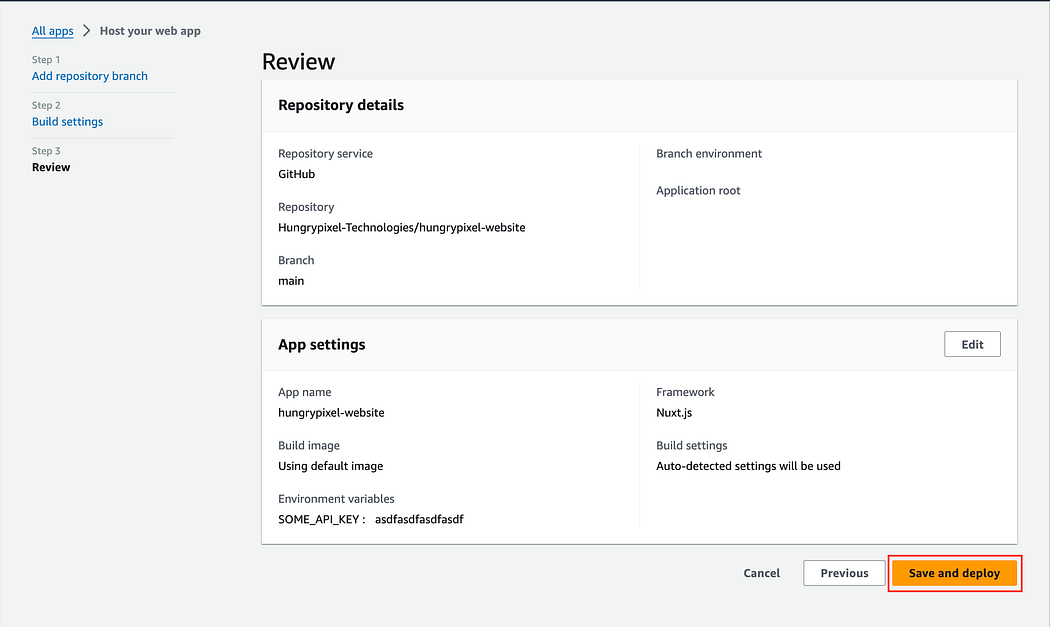
Once the deployment is done, the URL will be visible for the deployed app

In case of failure due to NODE_ENV=production, change it to development. While deployment, it is automatically changed to production.


